
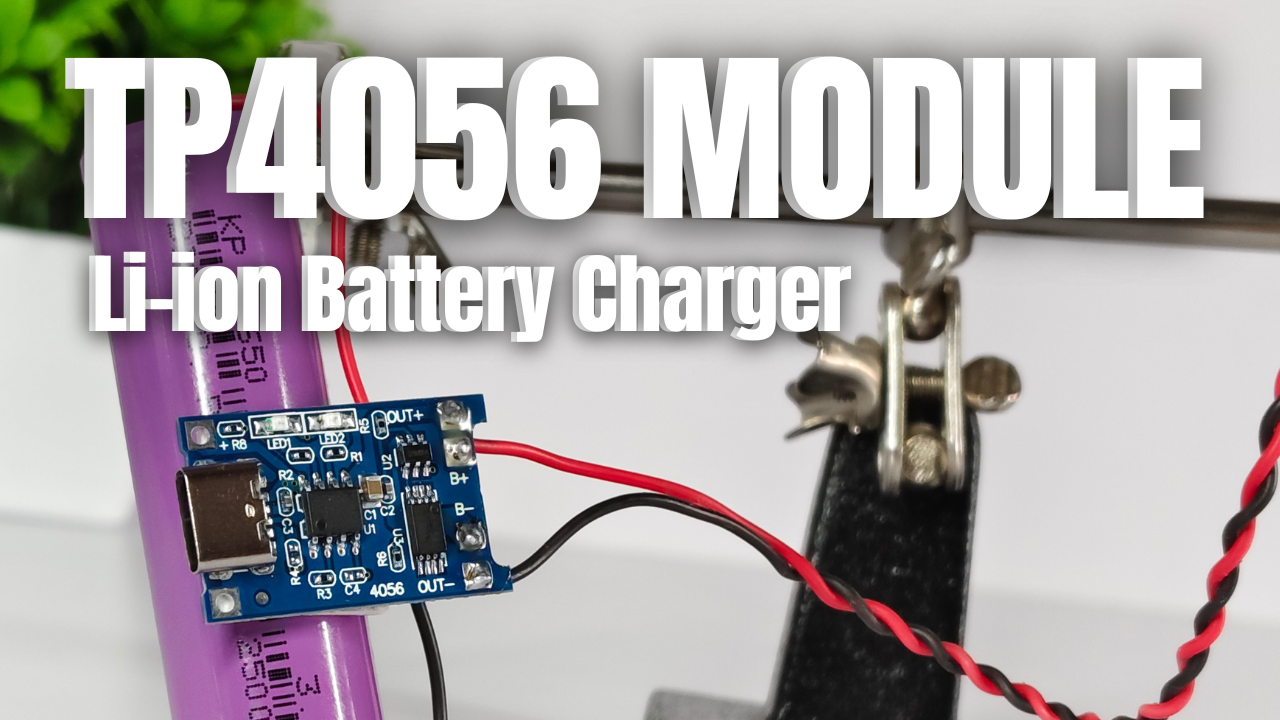
The TP4056 is one of the most commonly used battery charging modules for lithium-ion batteries like the 18650. It’s compact, affordable, and efficient for applications requiring precise charging and battery protection. In this blog, we’ll dive deep into the basics of the TP4056 module, explore the role of its three ICs, and learn how to connect it to a 18650 battery and an LED for practical usage.
Understanding the TP4056 Module
The TP4056 module is designed specifically for charging lithium-ion batteries. It is equipped with a micro-USB input for convenient power supply and provides a constant current (CC) and constant voltage (CV) charging algorithm. This ensures safe and efficient charging, extending the life of the battery. The module can handle input voltages from 4.5V to 5.5V and typically outputs a charging voltage of 4.2V. Its compact design makes it an excellent choice for DIY projects, power banks, and other portable electronics.
The Three ICs in TP4056 Module
The TP4056 module consists of three key ICs that work together to deliver reliable battery charging and protection:
- TP4056 IC:
The primary IC responsible for the charging function. It controls the current flow to the battery, ensuring it receives the optimal charge without overheating. It also includes features like automatic cutoff when the battery is fully charged. - DW01 Protection IC:
This IC is responsible for protecting the battery from overcharging, over-discharging, and short circuits. It ensures the battery operates within safe voltage and current limits, enhancing its safety and longevity. - FS8205A Dual MOSFET:
The dual MOSFET works alongside the DW01 IC to provide reliable switching and protection. It acts as a gatekeeper, preventing dangerous current surges or reverse connections that could damage the battery or the module.
Why Use a TP4056 Module?
Lithium-ion batteries like the 18650 are widely used due to their high energy density and rechargeability. However, they require precise charging to avoid safety hazards like overheating or explosion. The TP4056 module simplifies this process by providing a plug-and-play solution for safely charging these batteries. It is also cost-effective and comes with built-in safety features, making it ideal for hobbyists and professionals alike.
Connecting the TP4056 to a 18650 Battery
To use the TP4056 with a 18650 battery, follow these steps:
- Battery Connection:
- Connect the positive terminal of the 18650 battery to the
B+pin on the TP4056 module. - Connect the negative terminal of the battery to the
B-pin.
- Connect the positive terminal of the 18650 battery to the
- Input Connection:
- Power the TP4056 module through the micro-USB port or via the
IN+andIN-pins. The input should be a stable 5V source, such as a USB adapter or power supply.
- Power the TP4056 module through the micro-USB port or via the
- Output Connection:
- Use the
OUT+andOUT-pins to connect your load (like an LED or another device). These pins are regulated to deliver the correct voltage.
- Use the
Adding an LED to the Circuit
An LED can be used as a visual indicator to demonstrate the circuit’s functionality. Connect the LED to the OUT+ and OUT- pins of the TP4056 module. Make sure to use a current-limiting resistor (typically 100 ohms) in series with the LED to prevent it from burning out. This setup allows the LED to light up when the battery powers the circuit.
Key Features of TP4056 Module
The TP4056 module includes several essential features:
- Overcharge Protection: Automatically stops charging when the battery reaches 4.2V.
- Over-discharge Protection: Cuts off the output when the battery voltage drops below 2.5V.
- Short Circuit Protection: Prevents damage due to accidental short circuits.
- Thermal Regulation: Reduces charging current if the module overheats.
These features ensure the safety and longevity of both the module and the connected battery.
Important Safety Precautions
While working with lithium-ion batteries and TP4056 modules, keep the following precautions in mind:
- Always use a good-quality 18650 battery to avoid potential hazards.
- Ensure proper polarity when connecting the battery to the module.
- Avoid exposing the module or battery to water or high temperatures.
- Do not short-circuit the battery terminals, as it can cause damage or fire.
Here’s a detailed blog content you can directly copy-paste into your WordPress blog:
TP4056 with 3 IC Basics and Connecting it to 18650 Battery and LED
The TP4056 is one of the most commonly used battery charging modules for lithium-ion batteries like the 18650. It’s compact, affordable, and efficient for applications requiring precise charging and battery protection. In this blog, we’ll dive deep into the basics of the TP4056 module, explore the role of its three ICs, and learn how to connect it to a 18650 battery and an LED for practical usage.
Understanding the TP4056 Module
The TP4056 module is designed specifically for charging lithium-ion batteries. It is equipped with a micro-USB input for convenient power supply and provides a constant current (CC) and constant voltage (CV) charging algorithm. This ensures safe and efficient charging, extending the life of the battery. The module can handle input voltages from 4.5V to 5.5V and typically outputs a charging voltage of 4.2V. Its compact design makes it an excellent choice for DIY projects, power banks, and other portable electronics.
The Three ICs in TP4056 Module
The TP4056 module consists of three key ICs that work together to deliver reliable battery charging and protection:
- TP4056 IC:
The primary IC responsible for the charging function. It controls the current flow to the battery, ensuring it receives the optimal charge without overheating. It also includes features like automatic cutoff when the battery is fully charged. - DW01 Protection IC:
This IC is responsible for protecting the battery from overcharging, over-discharging, and short circuits. It ensures the battery operates within safe voltage and current limits, enhancing its safety and longevity. - FS8205A Dual MOSFET:
The dual MOSFET works alongside the DW01 IC to provide reliable switching and protection. It acts as a gatekeeper, preventing dangerous current surges or reverse connections that could damage the battery or the module.
Why Use a TP4056 Module?
Lithium-ion batteries like the 18650 are widely used due to their high energy density and rechargeability. However, they require precise charging to avoid safety hazards like overheating or explosion. The TP4056 module simplifies this process by providing a plug-and-play solution for safely charging these batteries. It is also cost-effective and comes with built-in safety features, making it ideal for hobbyists and professionals alike.
Connecting the TP4056 to a 18650 Battery
To use the TP4056 with a 18650 battery, follow these steps:
- Battery Connection:
- Connect the positive terminal of the 18650 battery to the
B+pin on the TP4056 module. - Connect the negative terminal of the battery to the
B-pin.
- Connect the positive terminal of the 18650 battery to the
- Input Connection:
- Power the TP4056 module through the micro-USB port or via the
IN+andIN-pins. The input should be a stable 5V source, such as a USB adapter or power supply.
- Power the TP4056 module through the micro-USB port or via the
- Output Connection:
- Use the
OUT+andOUT-pins to connect your load (like an LED or another device). These pins are regulated to deliver the correct voltage.
- Use the
Adding an LED to the Circuit
An LED can be used as a visual indicator to demonstrate the circuit’s functionality. Connect the LED to the OUT+ and OUT- pins of the TP4056 module. Make sure to use a current-limiting resistor (typically 100 ohms) in series with the LED to prevent it from burning out. This setup allows the LED to light up when the battery powers the circuit.
Key Features of TP4056 Module
The TP4056 module includes several essential features:
- Overcharge Protection: Automatically stops charging when the battery reaches 4.2V.
- Over-discharge Protection: Cuts off the output when the battery voltage drops below 2.5V.
- Short Circuit Protection: Prevents damage due to accidental short circuits.
- Thermal Regulation: Reduces charging current if the module overheats.
These features ensure the safety and longevity of both the module and the connected battery.
Important Safety Precautions
While working with lithium-ion batteries and TP4056 modules, keep the following precautions in mind:
- Always use a good-quality 18650 battery to avoid potential hazards.
- Ensure proper polarity when connecting the battery to the module.
- Avoid exposing the module or battery to water or high temperatures.
- Do not short-circuit the battery terminals, as it can cause damage or fire.
Applications of TP4056 Module
The TP4056 module has numerous applications, including:
- Portable power banks.
- Solar battery chargers.
- LED lighting projects.
- Wearable devices and IoT gadgets.
Its versatility and reliability make it a go-to solution for charging lithium-ion batteries in a variety of projects.
Conclusion
The TP4056 module is an essential tool for safely charging 18650 lithium-ion batteries. Its combination of the TP4056 IC, DW01 protection IC, and FS8205A MOSFET ensures efficient charging with built-in safety measures. Whether you’re working on a DIY project or a commercial application, the TP4056 module is a simple and effective solution. By following the steps outlined above, you can easily connect the module to a 18650 battery and an LED to create a functional and safe charging circuit.
If you found this guide helpful, don’t forget to share it with others and explore more exciting projects on our blog!